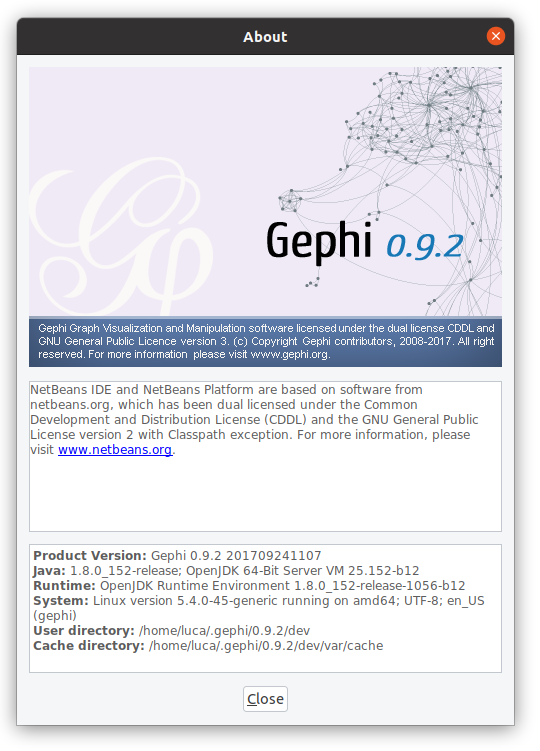
Installing Gephi on Ubuntu or and Debian based system is fast and easy, once you know how it works.
1. Download the latest Gephi release
You could navigate to the download section on the Gephi website and save the latest release, but that takes multiple clicks. It’s faster to use to terminal and either wget or curl to download the file. We need to know the URL of the file though. For the 0.9.2 release (the current one as of 2020-02-26) you can use the URL below. For other ones, you will have to look them up. I will put the files in my home directory, if you want them somewhere else, you would need to navigate there first (cd…).
wget -q --show-progress https://github.com/gephi/gephi/releases/download/v0.9.2/gephi-0.9.2-linux.tar.gz-q tells wget to be quiet (no output), --show-progress tells it that we still want to see how fast it downloads the file.
2. Extract Gephi
Currently the files are still in an archive. To use them you have to extract them. Again, this is possible through the graphical interface (right click, extract here), but using the terminal is more convenient as we already used it to download the file. If you have a different release, you could use the ls command to find out its name. If you downloaded 0.9.2, just use this:
tar xzf gephi-0.9.2-linux.tar.gz3. Try to start Gephi
Now we can start Gephi with the following command:
./gephi-0.9.2/bin/gephiThis will fail if you don’t have Java installed on your system. If it fails, it will say: Cannot find java. Please use the --jdkhome switch. To fix this, you need to install java.
4. Install Java
Update: On Ubuntu 20.04, you don’t need to add the repository anymore. See comments at the bottom.
Gephi needs Java to run. You can install it by executing these commands in your terminal:
sudo add-apt-repository ppa:openjdk-r/ppa
sudo apt update
sudo apt install openjdk-8-jdk openjdk-8-jre
The first command adds the repository, which is maintained by Matthias Klose. The second retrieves which software is currently available in all added repositories. The last command installs the jdk and jre.
(If you ever want to uninstall it: sudo apt purge openjdk-*)
To see if and which Java version you have installed, you can use java -v and javac -v.
5. Start Gephi
Now that Java is installed, you will be able to actually start Gephi:
./gephi-0.9.2/bin/gephi
Optional: Increase RAM available to Gephi
Per default Gephi only get 512MB of RAM. Depending on you computer, you should give it more. You can either do this by navigating with Files to gephi-0.9.2/etc/gephi.conf, open it with any text editor and change it. Or you use the Terminal and nano or vim. Once you changed the value, save and exit (ctrl+o, ctrl+x in nano).
nano gephi-0.9.2/etc/gephi.confThe relevant part is -J-Xmx512m. I changed it to -J-Xmx60g, which allows Gephi to use up to 60GB of RAM. In the past I tested values that are bigger than my actual RAM and it worked fine. Only try this if you have a SATA or better NVMe SSD and be aware that Gephi will use the SSD as RAM once the RAM is full. This will reduce the lifespan of your SSD.
Let me know in the comments if this helped you or if you have any questions.

Leave a Reply